

Look Up Canon Printer 3620 Why Will the Paper Not Feed Into the Machine

We live in a high-tech world filled with tons of digital information, but that doesn't mean we don't need an old-school printed piece of paper every now and then. Most of our personal communication takes place via text or email these days, but that isn't true for documents in our professional lives. We often need to print things like resumes for job interviews and paperwork for school, medical or financial purposes.
On the fun side, photo printers let us carry out a variety of colorful printing tasks. From lab-quality photo prints to personally designed holiday cards, the printing possibilities are virtually endless with a Canon printer. Of course, before you get started on the fun stuff, you have to get your new printer set up and connected to your computer or mobile device. The process usually only takes a few minutes if you have the right equipment and an internet connection. Let's take a look at the steps you need to take before using your Canon printer.
Unpack the Printer
It sounds simple enough, but the process of unpacking the printer is a little more complicated than opening the box and pulling out the printer. These devices consist largely of delicate plastic cases and components and glass screens that could easily be damaged in transit, even encased in foam packing. To minimize the risk of broken pieces, Canon uses tape to hold parts in place and inserts small foam pieces into gaps and nooks to provide extra cushioning. It will take an eagle eye to make sure you remove all the tape and pieces before trying to operate the printer.
Once you have the printer fully unpacked, check to make sure you have all the necessary parts. If you plan to connect the printer using a printer cable, check to see if your model includes this cable. Many Canon printer models do not include printer cables in the box. The user manual should include a page with a list and pictures of everything that should be inside the box, including any starter ink cartridges and cables. Place the printer on a flat, stable surface, plug in the power cable and turn on the unit.
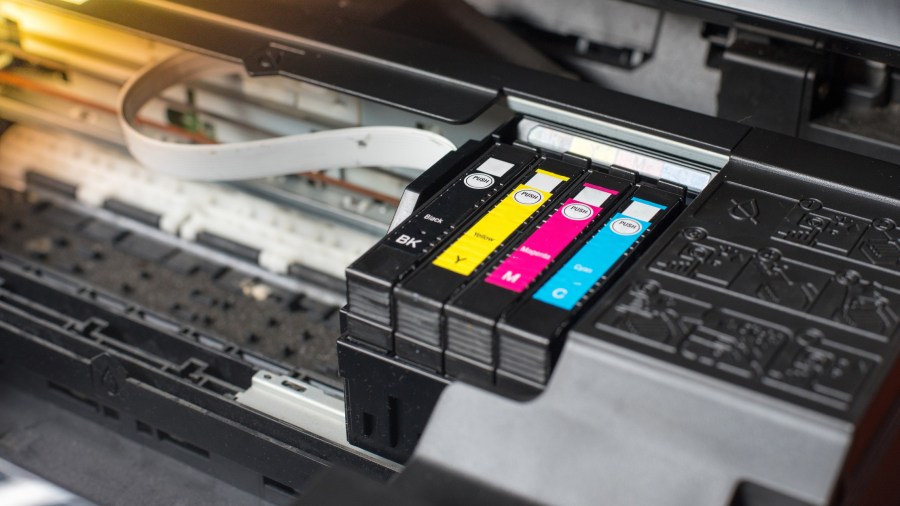
Canon printers will automatically launch a series of auto setup steps as soon as the printer finishes powering on. Depending on your exact printer model, the exact order of the steps may vary, but most models require you to install the ink cartridges and load printer paper into the appropriate tray as two of the first steps. If you are asked to print an alignment page, be sure to closely review the results to ensure you achieve the best print quality. You may also be asked to set simple things like date, time and language as part of the auto setup.

Connect Your Computer to Your Printer with a Printer Cable
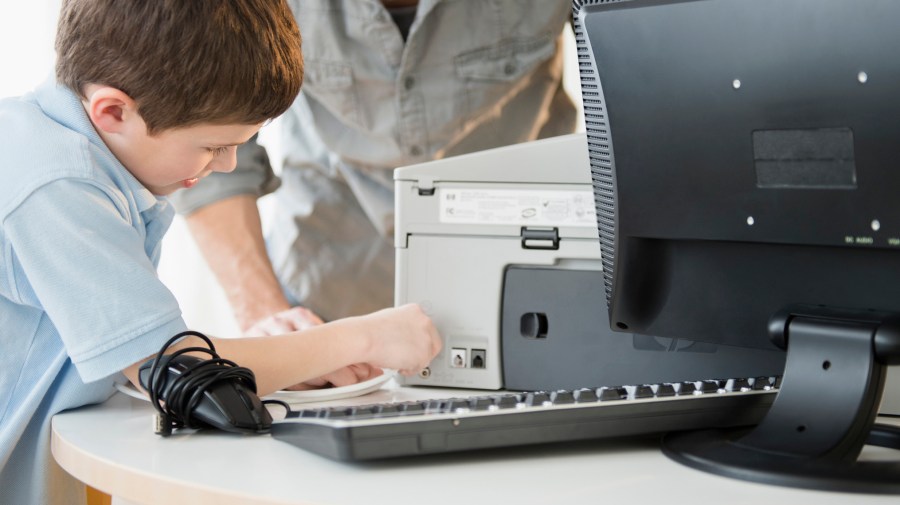
If your printer is not wireless, you will have to use a specific type of USB printer cable to connect it to your computer. Additionally, if you position a wireless printer next to your computer, you may want to use a wired connection to increase reliability. Once you connect the printer, wait for prompts to appear on your computer screen. In many cases, Windows will automatically detect the new hardware, identify it and install the correct printer driver to use with it. If this doesn't happen, you will either need to install the driver from the Canon setup CD (if included) or visit the Canon Support website to download the correct driver for your printer model.
If your printer came with a setup CD, it's worth noting that the CD may also contain other helpful software or add-ons to improve the performance of your printer. For example, software for organizing and editing photos could be helpful if you plan to print a lot of photos. Scanning software that allows your printer to scan items straight to your computer (instead of to a flash drive) may be included as well.
Connect Your Wireless Printer to Your Wireless Network
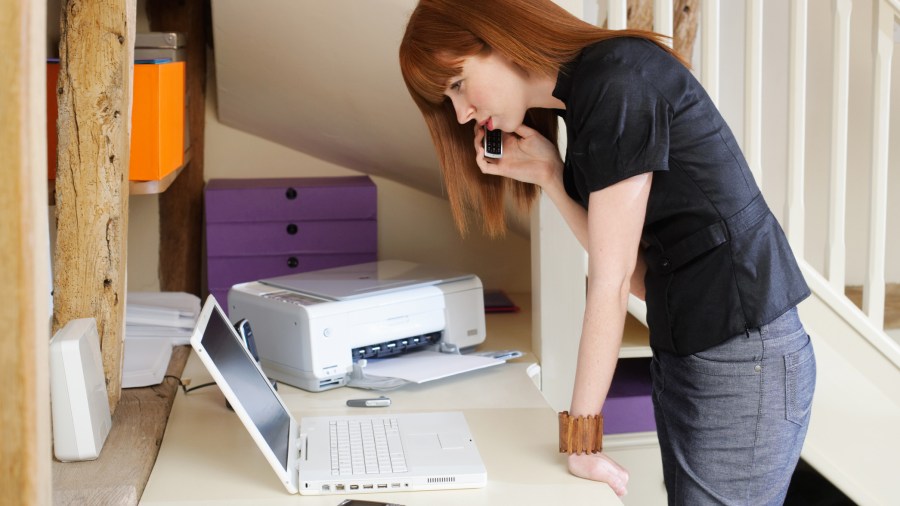
If you are installing a wireless printer, the printer may ask for your wireless network information as part of the initial auto setup process. If not, you can find the wireless network setup option in the printer's home screen menu — usually labeled WLAN, not Wi-Fi. You can connect wirelessly using a WPS connection or using your network name and passcode, similar to the way you connect your mobile phone to your home network.

To use a WPS connection with a wireless access point, select Wireless LAN Setup (inside WLAN). Tap Start Setup, and the blue Wi-Fi lamp on the front of the printer will turn on and start flashing. Press and hold the WPS button on your wireless access point for five seconds before releasing. You then have approximately two minutes to push OK on the printer to complete the connection to the access point. When you have successfully completed the connection, the blue Wi-Fi lamp will remain on and solid.
To connect using your passcode, start the same way by navigating to the WLAN menu and selecting Wireless LAN Setup, but select Other Connection Methods instead of Start Setup. Select Standard Setup, and the printer will search for available networks nearby. Choose your network and then enter your passcode to complete the connection. Keep in mind that once you successfully connect your printer to the network using either wireless method, you still have to connect your computer to your printer, but you can now do so wirelessly.
Connect Your Computer to Your Wireless Printer
Once you establish a connection between your wireless network and your printer, you will be able to print to it from computers connected to the same network by adding the printer to those computers. To do that, you can use the installation CD that came with the printer or install the printer manually by opening the Windows Settings menu, navigating to Devices and selecting Printers & Scanners. Select the option near the top for Add a Printer or Scanner and then follow the prompts.
Your new printer will be available for wireless printing after the installation is complete, but it's a good idea to print a test page to make sure the computer and the printer are communicating effectively. Once you're sure the connection is working as it should, you can set the Canon printer as your default printer for future printing.
Connect Your Wireless Devices to Your Wireless Printer
Most Canon printer models released within the last couple of years make it easy to print straight from wireless devices like mobile phones, tablets and laptops. To use this feature, you must first download the Canon PRINT app from the Apple App Store or Google Play. Once you set up the app on your device, you simply press the Wireless Connect button on the printer, and the app will capture the signal and transfer your username, password and Wi-Fi information straight from your device to the printer. Follow the instructions on the printer's display screen and the app to complete the process.

Locate Your Printer Manual Online
If you don't have access to your printer's manual, you can find a digital copy online at Canon's website. Enter your printer series and model number to find the correct manual. You can view the manual as a PDF document right on the screen or download a copy to keep on your computer. The user manual will contain detailed information on setting up, using and troubleshooting your printer.

beauchampexplaving.blogspot.com
Source: https://www.questionsanswered.net/tech/setting-up-canon-printer?utm_content=params%3Ao%3D740012%26ad%3DdirN%26qo%3DserpIndex&ueid=281cef72-00c7-482e-81cf-cfeff6e37019
0 Response to "Look Up Canon Printer 3620 Why Will the Paper Not Feed Into the Machine"
Post a Comment